
Images are a very important part of any webpage. They can make your webpage look and function much better and now we will be learning how to put them into your webpage. We will also be showing you how to resize them using HTML and CSS later on.
The first step in inserting an image is to know the right tag. The tag in this case is <img>. The correct code to place inside the tag, for this activity is <img width="400px" src="emoji.png"/> (refer to the final webpage image.). The '<img...' defines that the following code will represent an image. The 'width="400px"' determines how many pixels (px) the width of the image will be, in this case, 400 pixels (represented as "400px") The '...src...' specifies the path to the image and the '...="emoji.png"/>' tells the program what the file for the image is. As you can tell, unlike normal tags, the image tag does not need a closing tag. In order to tell the program that the image tag is closed, '/>' is used in place of '</img>'. It doesn't need a closing tag as it is an 'inline' and 'empty' element.
In order to complete this task, ensure you have downloaded the image from this link: Download Image
Simply:
Right click the link
Press 'Open link in new tab'
Go to the tab
Right click the image
Press 'Save Image As...'
Save the image onto your computer
If done right it would look like this:

Remember to check whether or not your webpage has been made correctly in accordance to W3C's standard, paste ALL of the code in the textbox into this website: W3C Markup Validation
Tables are an easy but useful element of making an HTML webpage. They can display information such as images and text and can be used in numerous situations as some can have borders but some do not have borders.
The first step in inserting a table is to know the right tags. The tags in this case are <table>, <tr>, <th> and <td>. <table> defines and says that there will be a table. <tr> defines a row in the table and <th> and <td> defines a 'table heading' and 'table data' which are used in a table row. As shown in the textbox below, there are 2 rows and 3 sets of table data in each row. This creates a 3x2 table, with a border which is 'size 1', with the word 'hello' in each box, as shown in the image below.

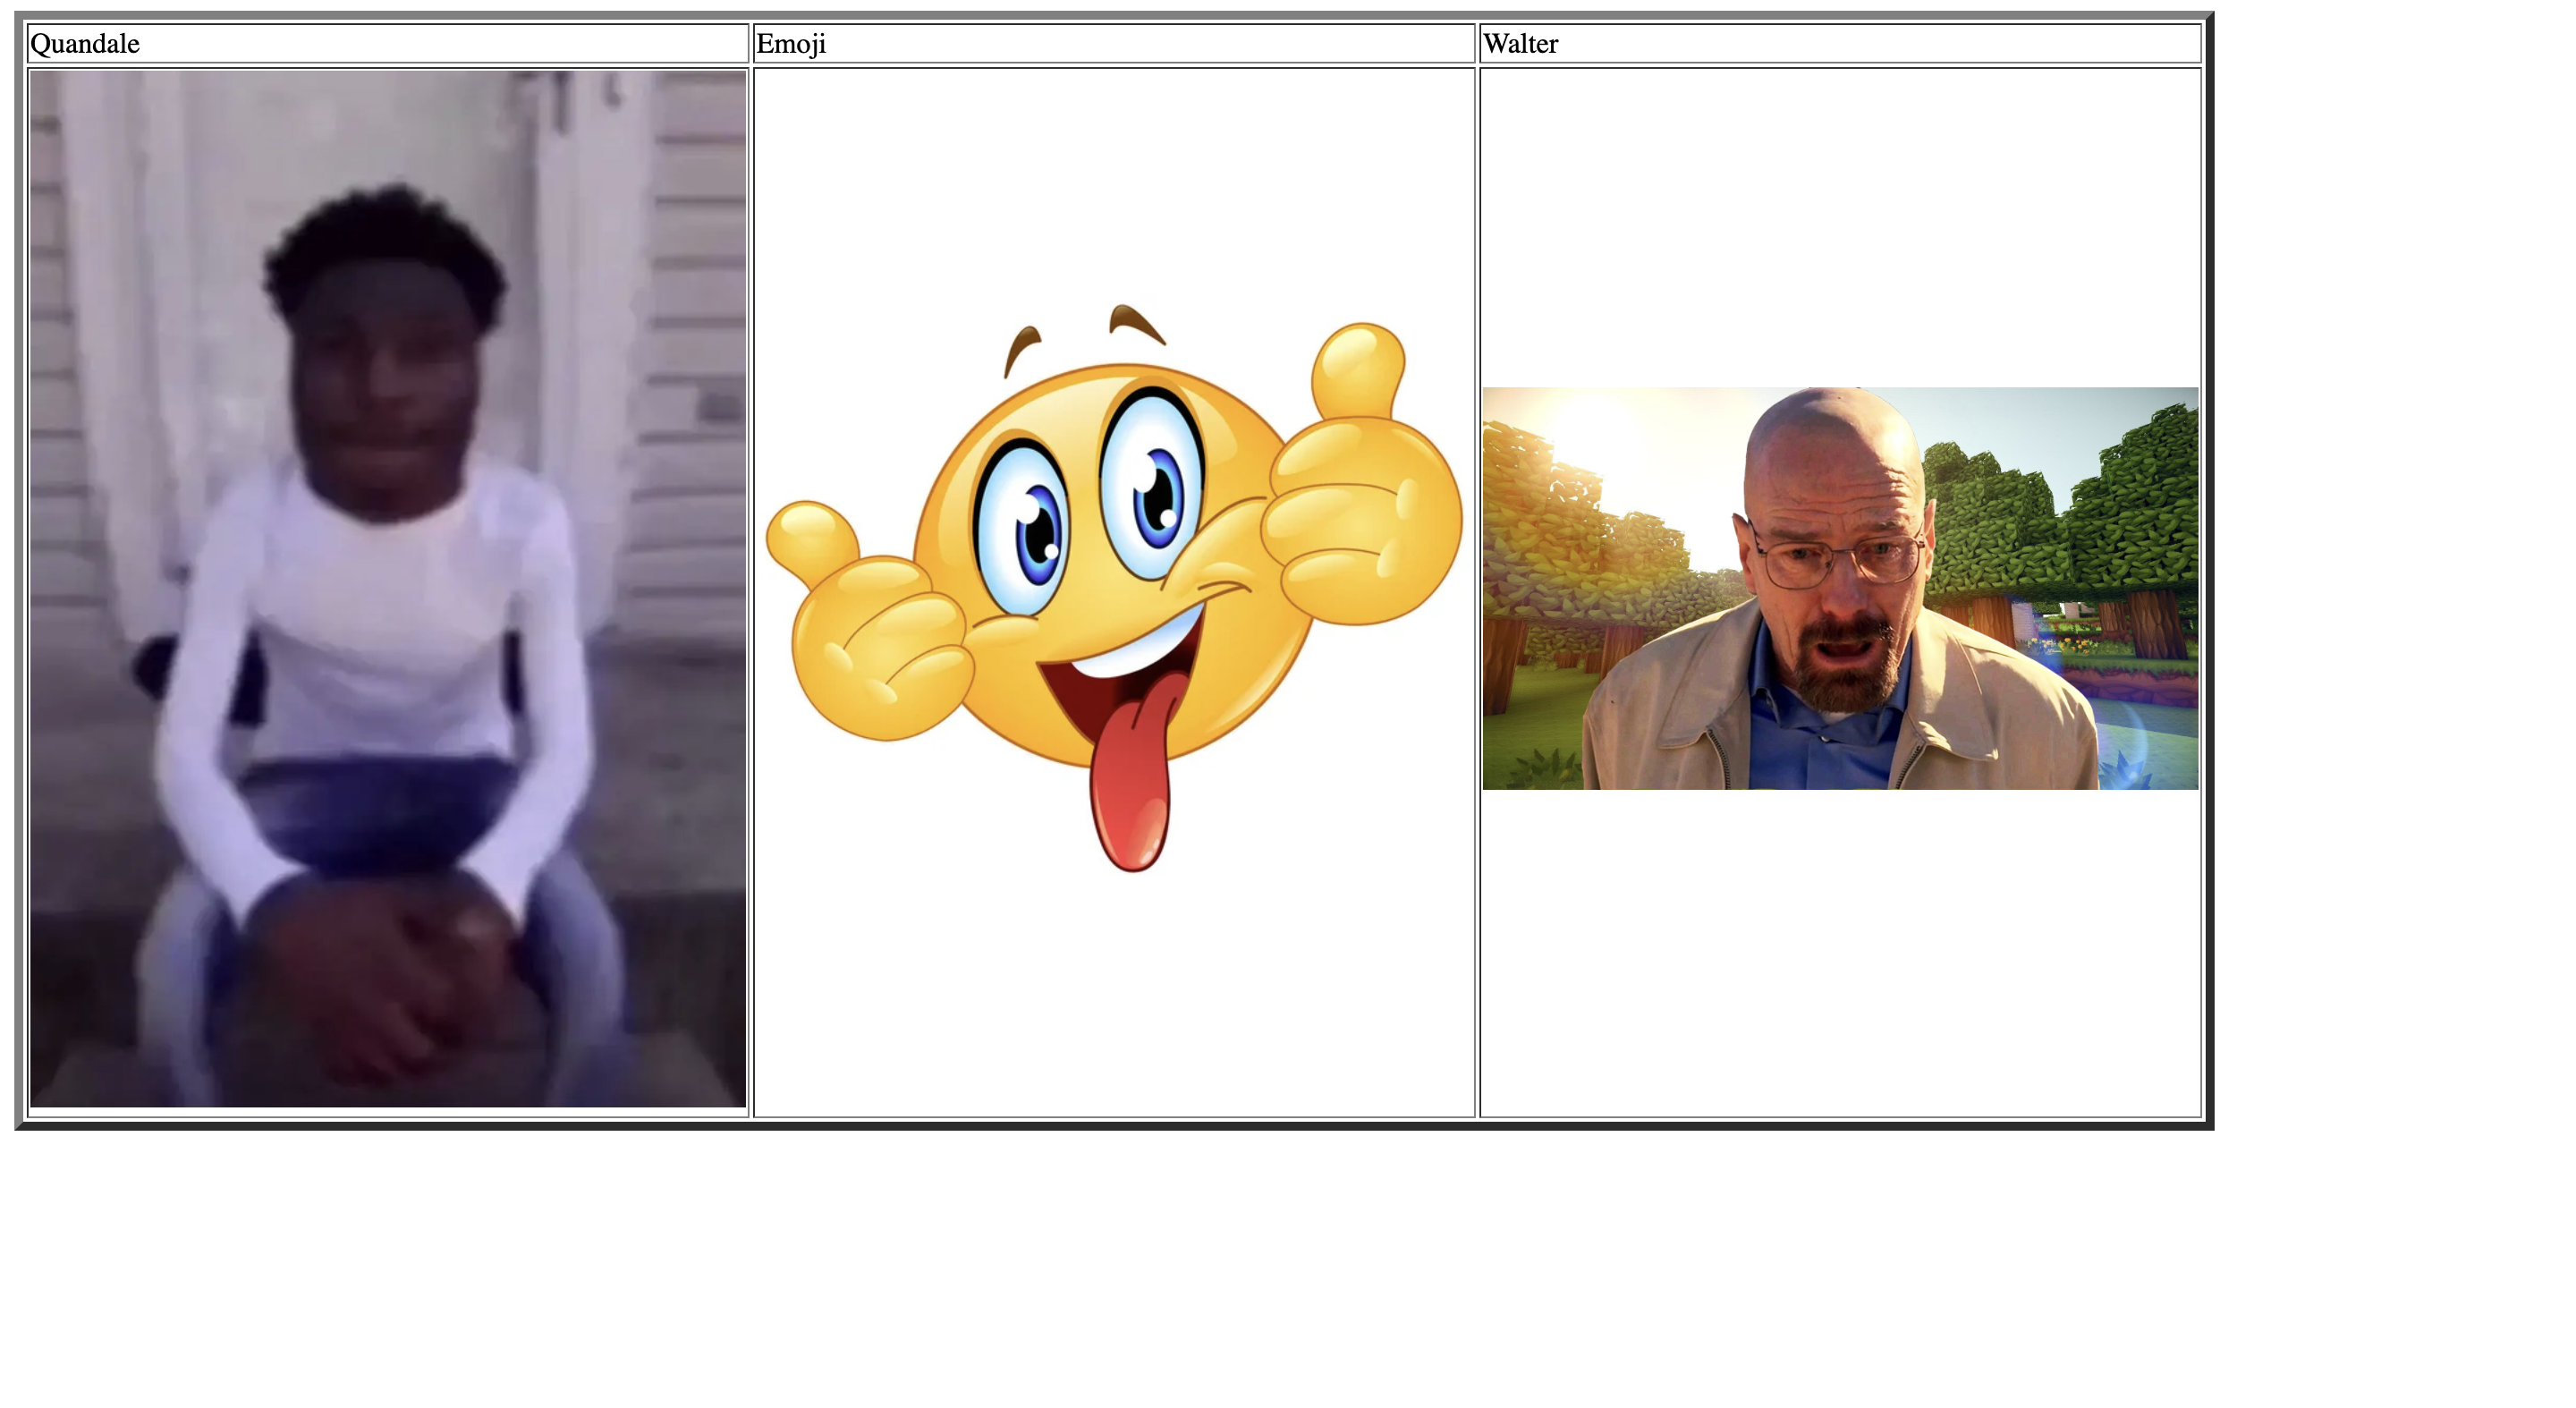
For this activity, we will be combining all of the lessons so far into one. Since we have led you through all the lessons so far, we will tell you the basis of what to do and you will have to figure it out. If you get stuck at any point, refer to this paragraph. For this activity, you will need to make a 3x2 table with a border in size '5'. In the first row, type 'Quandale' in the first box, 'Emoji' in the second and 'Walter' in the third using table headings. In the second row, insert image 1, 2 and 3 into their own boxes respectively, from left to right. Resize the images to have a 400 pixel width.
Remember, image file names are determined by what you save them as on your computer.
In order to complete this task, ensure you have downloaded the images from the following links:
Simply:
Right click the link
Press 'Open link in new tab'
Go to the tab
Right click the image
Press 'Save Image As...'
Save the image onto your computer
If you have created the webpage properly, the webpage should look like this:
Remember to check whether or not your webpage has been made correctly in accordance to W3C's standard, paste ALL of the code in the textbox into this website: W3C Markup Validation

©{{CodeIt}}School 2023


